One of the questions that we frequently get asked is: “What do we mean when we talk about bleed?” It’s quite simple, really.
Our Copiers, Printers, and Presses are unable to print all the way to the edge of a sheet of paper. There mechanisms, called a grippers and paper guides, that pull and guide the sheets of paper along an image path that creates a non-printing area on all four edges of the paper. In theory, this non-printing area is 3-4mm, in practice plan on 1/8 inch.
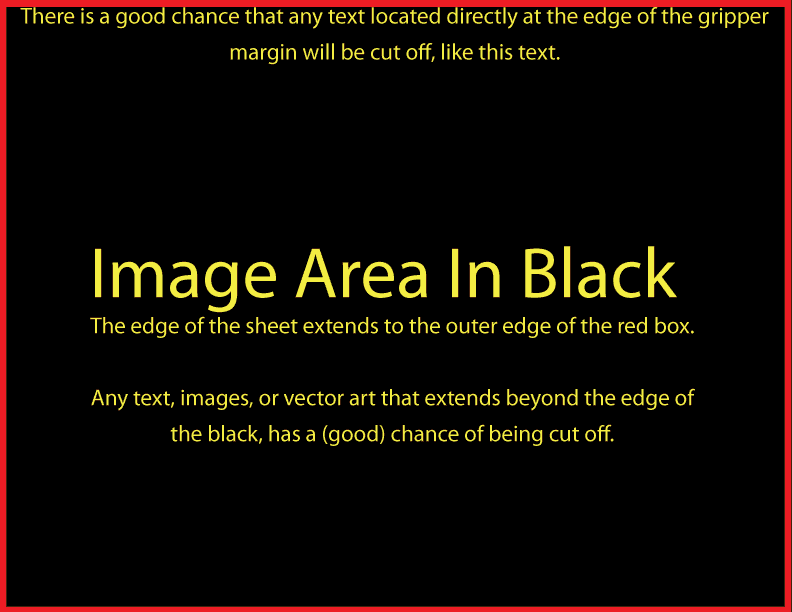
For example, if you give us a document with dimensions of 8.5×11 and we print that document on 8.5×11 paper, there will be a non-uniform white space all the way around the sheet. In the following example, the red area represents the area where the black image area would get cut off.
There are three solutions to this problem.
1. In the file that you design, make sure there is 1/8 inch of white space from the paper edge to the edge of the image area. Simply, just put a 1/8 inch border around the outside of your image-able area.
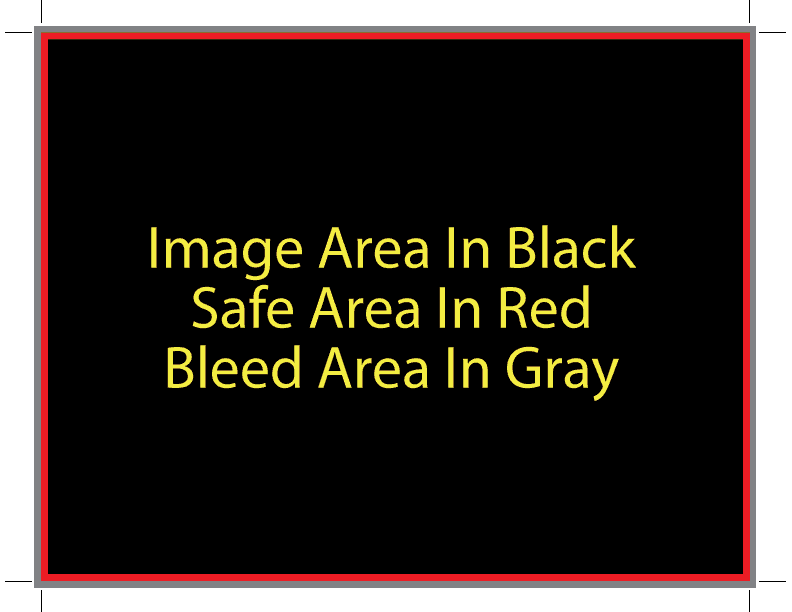
2. Make your image smaller than the sheet of paper that it will be printed on, and supply 1/8 inch image overlap, and crop marks. This means that you will have an area of 1/4 inch with no text on all four edges of the sheet. [See example]
3. If you have already designed a file, and for whatever reason you are unable to change the file to meet the previously mentioned design specifications, we can reduce the size of the image to fit within the area of the gripper margins. (Scale to, for example, 97% of the original image size.) Sometimes this works well, and at other times it does not. An example of a project this method may not work on would be a brochure that needs to be folded.
4. Here’s an example that uses a “real” project. It’s a business card that could be for LithoTech.
Notice the placement of the crop marks. This is an example of what we need when a project has “full bleed.”


